In our first article about my visit to Parmigiani Fleurier, we covered the history of the brand, its strong connection with restoration, and we also discussed how the company strives to keep the watchmaking and restoring trades alive. In this second segment, we will discover what it takes to make a Parmigiani watch by taking a special tour of the “Watchmaking hub” that is behind the brand. Officially called MHF (Manufactures Horlogeres de la Fondation), it is a network of five superb manufacturing sites, all primarily owned by the Sandoz Family Foundation, the founder of Parmigiani Fleurier.
Out of the five facilities, Atokalpa SA, is responsible for most moving parts, such as gears and pinions, as well as for components of the escapement, while Elwin SA makes balance shafts and other extremely fine parts. Without them, creating a true in-house calibre would not be possible. This time, however, we will concentrate on the really interesting stuff: the dial and case making facilities and the Vaucher manufacture, where they make some movement parts, perform assembly and do the finishing work. Finally, we will step into the realm of Atelier Haute Horlogerie, where the very finest timepieces are made. So, without further ado, let’s begin as we are excited to show you these amazing parts of a true watch manufacture.
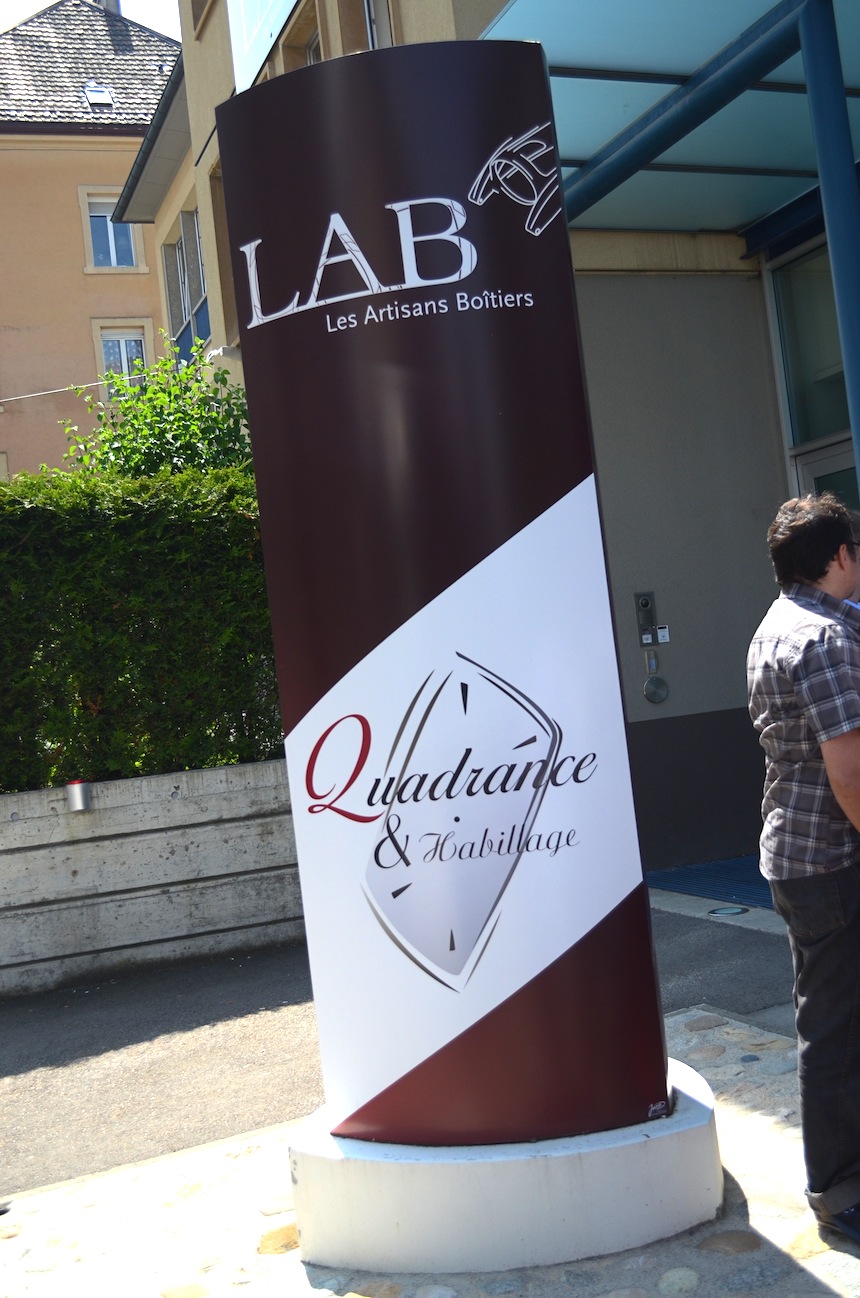
Our first stop was at Quadrance et Habillage, the dial making facility. This is where dial printers, electroplaters, varnishers and index fitters work together to create some of the finest dials out there. Since a dial is the ‘face’ of the watch, it has to meet just as high requirements as the movement, the case or any other part does.
As I could see the major challenge in dial making is overcoming the amount of variables, such as the irregularities of the base materials, the dyes used and how all the components work together. The smallest change in texture or color is immediately and permanently visible, so getting every step perfect is crucial.
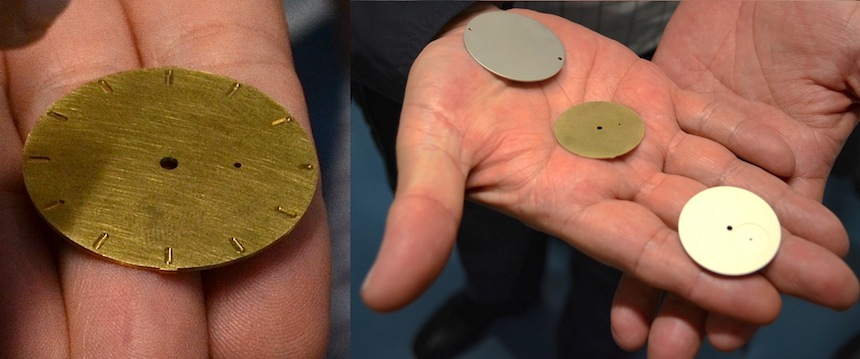
Different stages in dial surface treatments. The three dials on the right are either polished, rough, or opaline finished pieces.
They start with a rough piece, cut with CNC machines. First, through a semi-automated process, they solder on the feet of the dial as those will to hold it in place, once installed on the movement. The rough pieces are then taken to three different departments to have the surface polished, sandblasted and given an opaline finish, in accordance with the particular design at hand. This is followed by a series of baths which the dials have to go through.
With this process called “galvanization” beautifully different colors other than that of the base material can be achieved. Part of this happens in the series of tanks that are in the middle of the image below. Using those special hangers to the left, the dials are submerged into the different highly toxic liquids. Then there is a pressurized and extremely clean room, seen to the right, where further treatment is performed. There was a window, but we were not allowed in there for fear of leaving lint and other dirt all over the place that would later show up in the otherwise perfect finish of the dials.
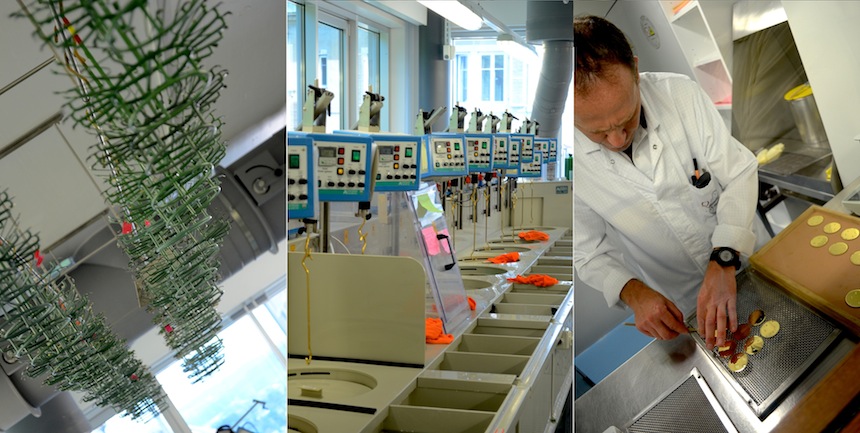
Watch dials are galvanized in several steps to create their base color
The aforementioned number of variables is a reason why these beautifully crafted components are so difficult to make. Sometimes, as we know, purposeful differences or imperfections in texture or color can make a dial interesting and unique. Yet, most of the time we seek utmost perfection, deep and balanced colors and sharp looks. The problem at this stage is that an ever so slight change in the temperature, the humidity or other external factors might alter the final color unfavorably.
This necessitates constantly monitoring the results and modifying how much time the pieces spend in the liquids, so as to guarantee consistent aesthetic qualities. As a final step in creating the base hue, a layer of colored or transparent lacquer is applied for protection. Clearly, it has already taken a lot of effort to make a dial, but all this was just half of the work that is necessary.
The semi-finished components need to be decorated with the required markings, such as numerals, minute tracks, printed logos and other – often very intricate – shapes. A so called tampon is used to apply the paint. Shaped like a tennis-ball cut in half and made of rubber, the tampon first presses against an engraved metal plate on which ink is applied, and then against the dial, leaving the precise print it just picked up. The dial has to go to the oven every time a new marking is applied. All this makes for a very time-consuming and painstaking process, until the component can make it to the last stage.

