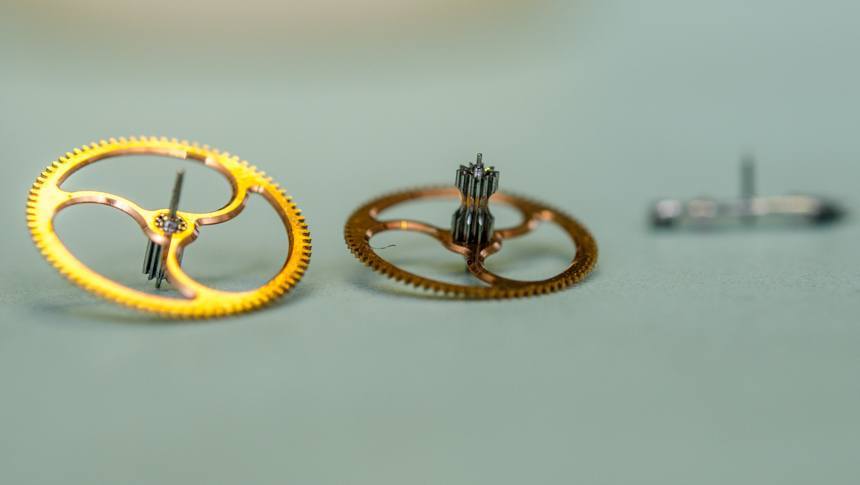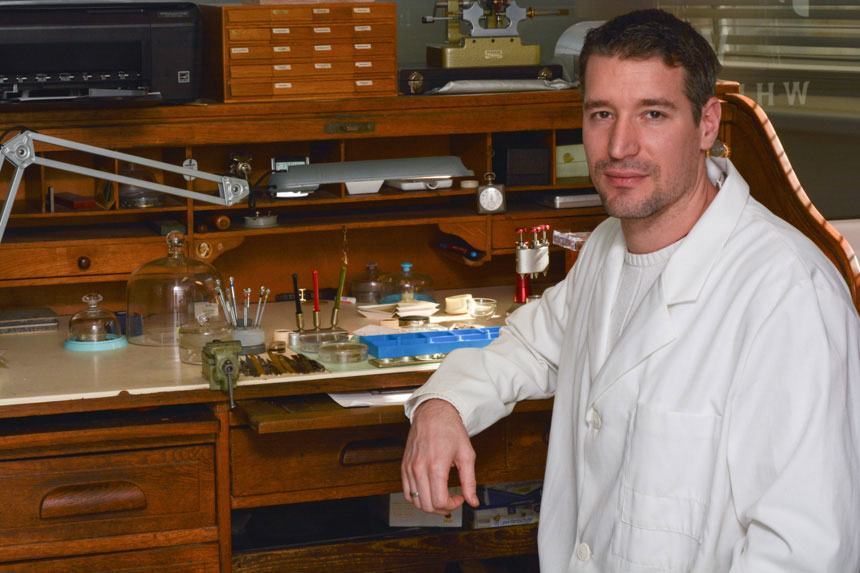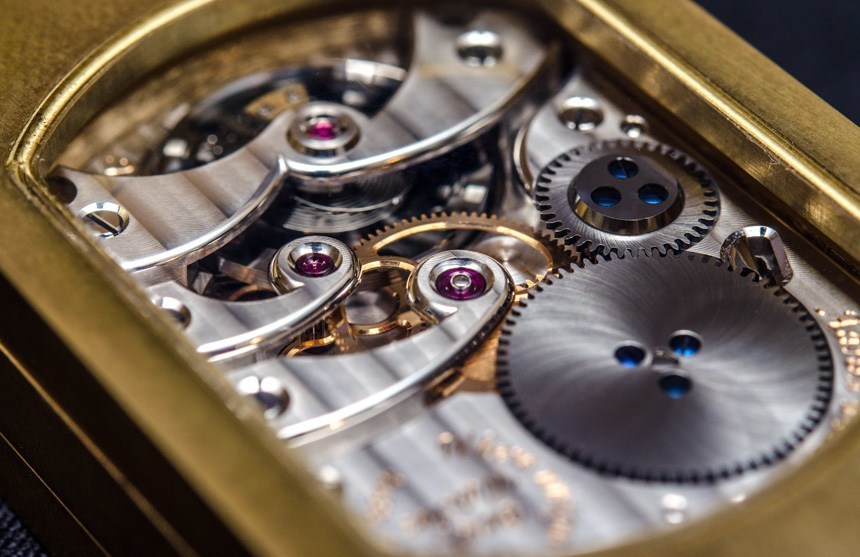
Both the Bexei Primus and the Bexei Dignitas watches started off as rough sketches by Aaron, ideas which he then fully elaborated on paper and then on computer. This means that all components are designed, from every bridge and wheel, up to the tiniest screw. To be clear, the only supplied parts are the springs, the jewels, the sapphire crystals, and the argentium dials, which are engraved by a master engraver in Hungary. Every other component including the bridges, screws, the balance wheel and the anchor lever are manufactured by him in his workshop, while all surface treatments (including rhodium plating) and all decorations of the movement and the case are also performed by him, not to mention the full assembly and testing of the movement and the watch, of course. Every time a watch is finished it is delivered by him personally to the customer.
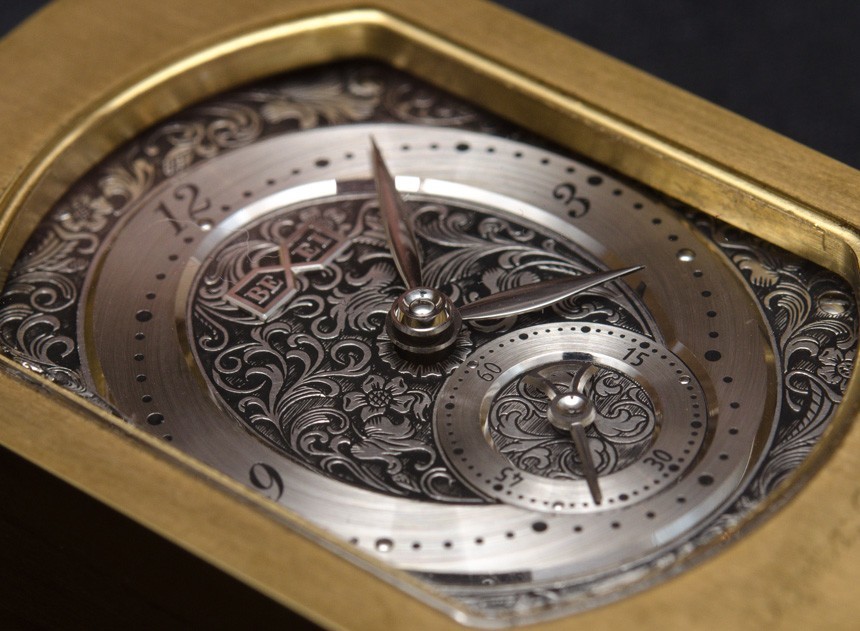
The stunning dial and the movement of the Bexei Dignitas Pure are complete, albeit they are still held in a temporary case used for the testing of the movement.
Now, while offering only two base models (the Bexei Dignitas Pure and the Power Reserve) might sound like a simplification, the tiniest details of each watch are always uniquely modified to the requirements of the customer. In practice this means that in all cases the buyer defines what materials, what design-changes (including the engraving of the dial, the indexes, the shape of the hands) and any other modifications he or she desires. As the negotiations unfold, the design is first created on the computer and is modified several times as it is repeatedly exchanged between the buyer and Aaron, until it becomes a perfect match with what the customer wanted.
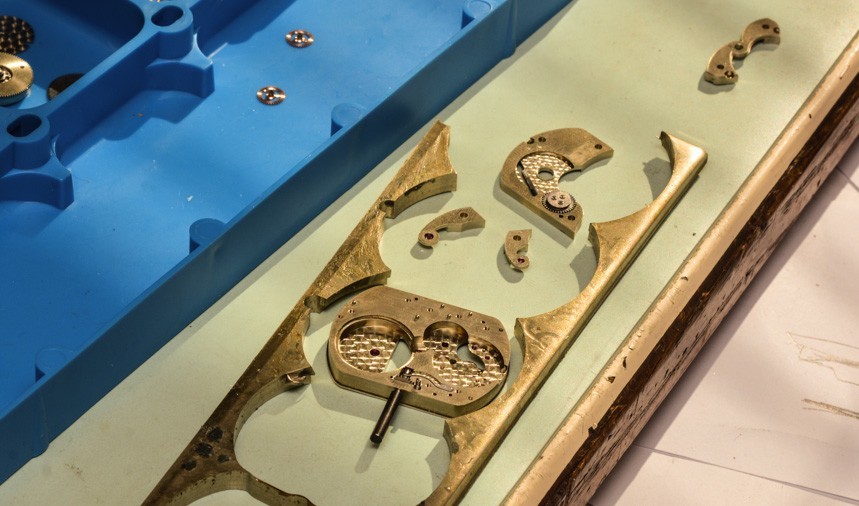
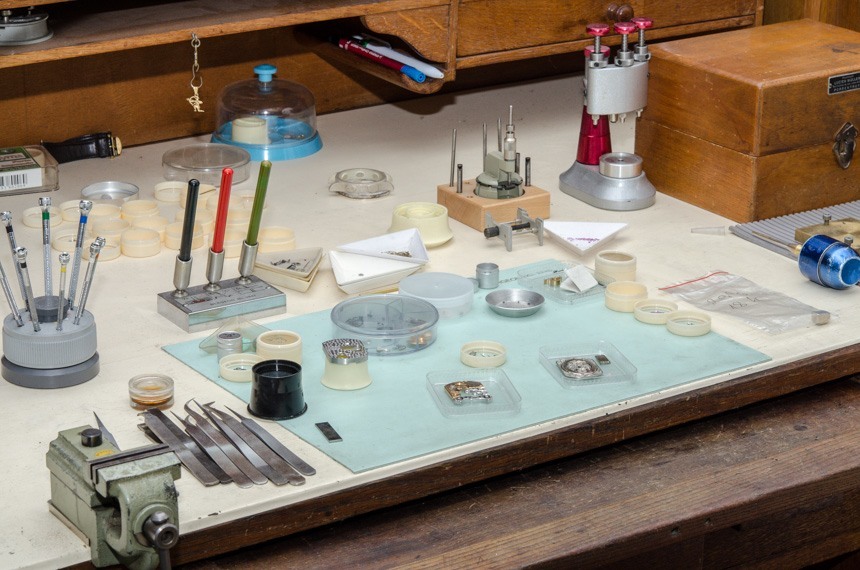
Each and every component of the movement (and the watch itself, from the case to the buckle) were first sketched on paper, but then the design and accurate parameters were finalized on the computer. Once production leaves the dimensions of virtual reality, bridges and plates begin their lives as a plate of brass, while wheels are made of solid gold. The rough parts are cut by one of the two specially designed CNC machines, one of which was modified, while the other was completely built by Aaron; and both are, naturally, running his own programs.
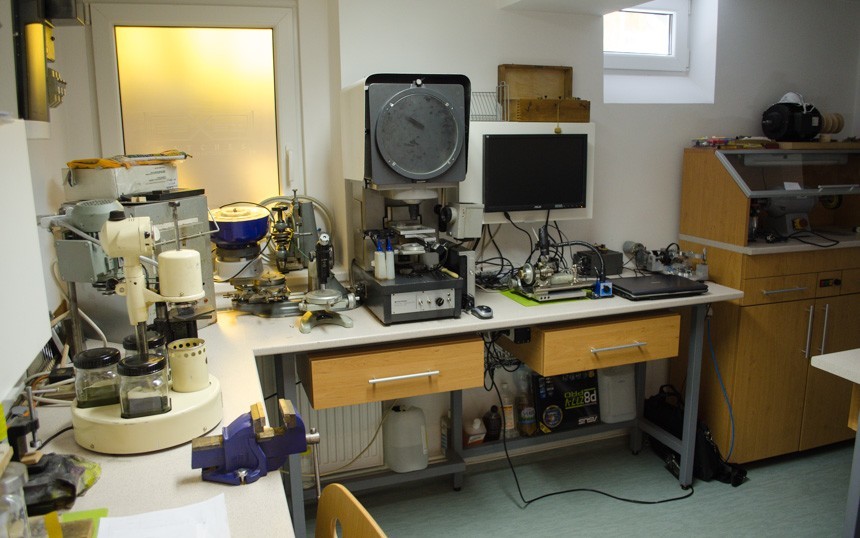
With an annual production of five watches, the use of the hefty machines seen in large manufactures is not required at Bexei. Seen here are the equipment used for electroplating, heating, component-checking, and also the small CNC which Aaron built.
Things get far more complicated once rough components have been cut and from this point are only worked on using traditional methods. Every single part is hand-finished to the highest standards, including hand-applied perlage, hand-beveled and polished bridges and cocks, wheels, screw-heads and sinks. Upon my different visits, Aaron had always been dedicating his attention to the production or finalization of one single component. To get an idea of what that means, let’s use the escape lever (seen below) as a more tangible example.
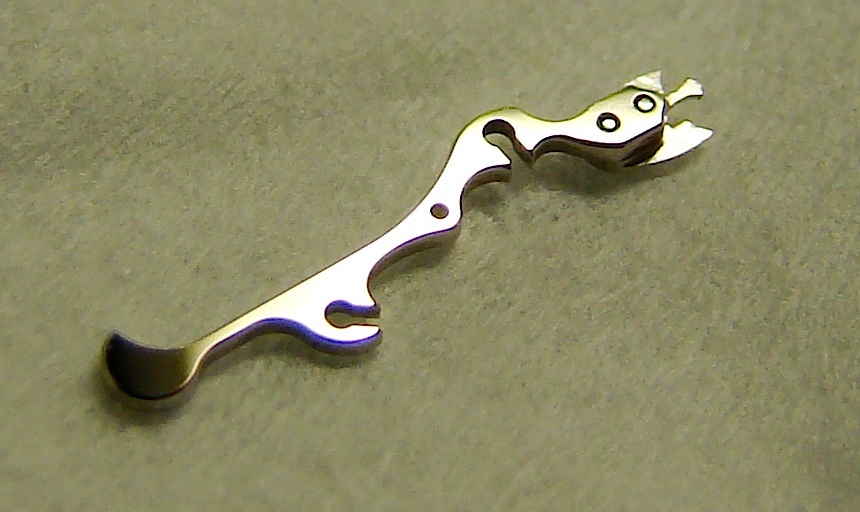
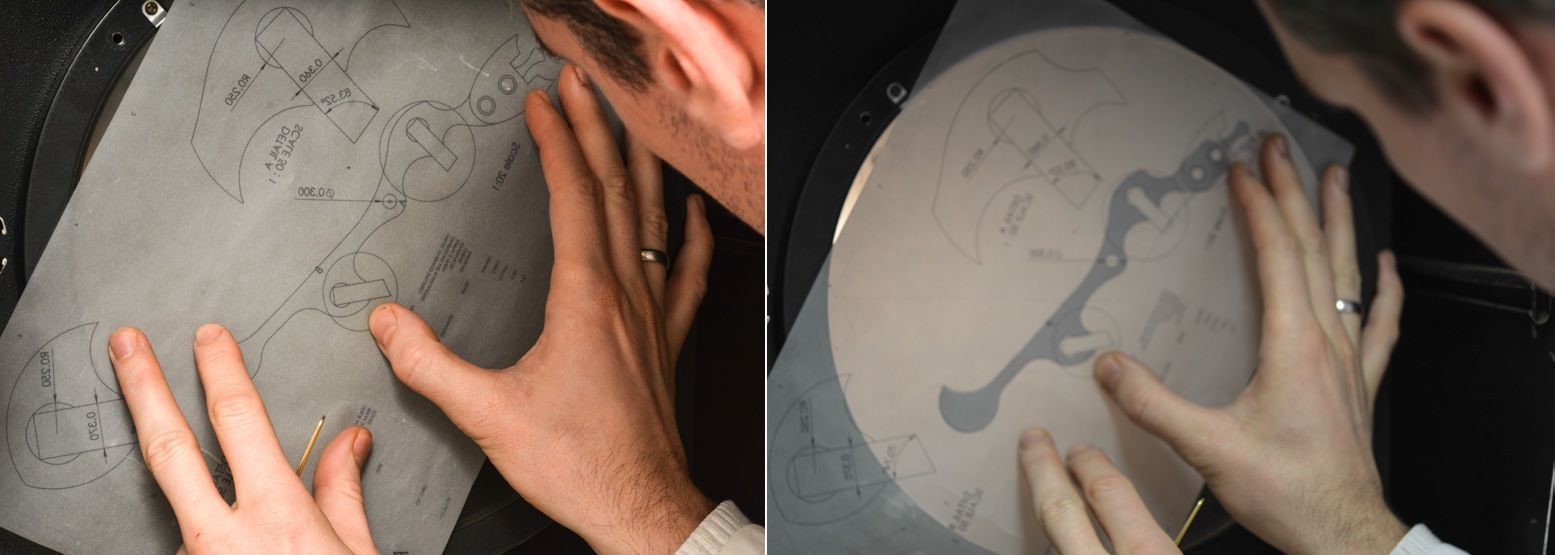
Seen on the image further above is Aaron’s proprietary lever, while on the collage below it is checked against the original design with a tolerance of only a few-microns.
On the first image you see the rough component, with the entry and exit pallets not yet installed and the beveling and polishing of the edges not yet executed. Things remain “analog” as the component has to be checked for manufacturing tolerances and this is what you see on the two-image collage just above. As mentioned earlier, technical drawings are made for all components, and behind this is a reason which you may not have considered before: you see, despite the fact that these components have to be crafted with an accuracy of a few microns and despite the setting and positioning of some of the parts have to be correct to the fraction of 1 degree, traditional methods still allow for checking whether or not these extremely demanding requirements have been met.
To do this, the component is placed on what is basically an extremely accurate projector, a hefty machine, the centerpiece of which is a glass plate that holds the inspected component. Strong light highlights the piece from below, the outline of which is projected through a series of mirrors onto a surface which shows a strongly magnified image of the component. It is this surface which you see on the two images above and on which the reference technical drawing and the shape of the component can be compared. Needless to say, the drawings are always extremely accurate and allow for precise checking of the components, and this process is repeated countless of times throughout the production of a component. The reason behind all this painstaking QC-process is to ensure that the part will function as it should without damaging itself or the components it comes in contact with. And while it is a very time-consuming process, it is still the one and only option as neglecting this step could result in a damaged or unusable part that has to be made again from scratch.
