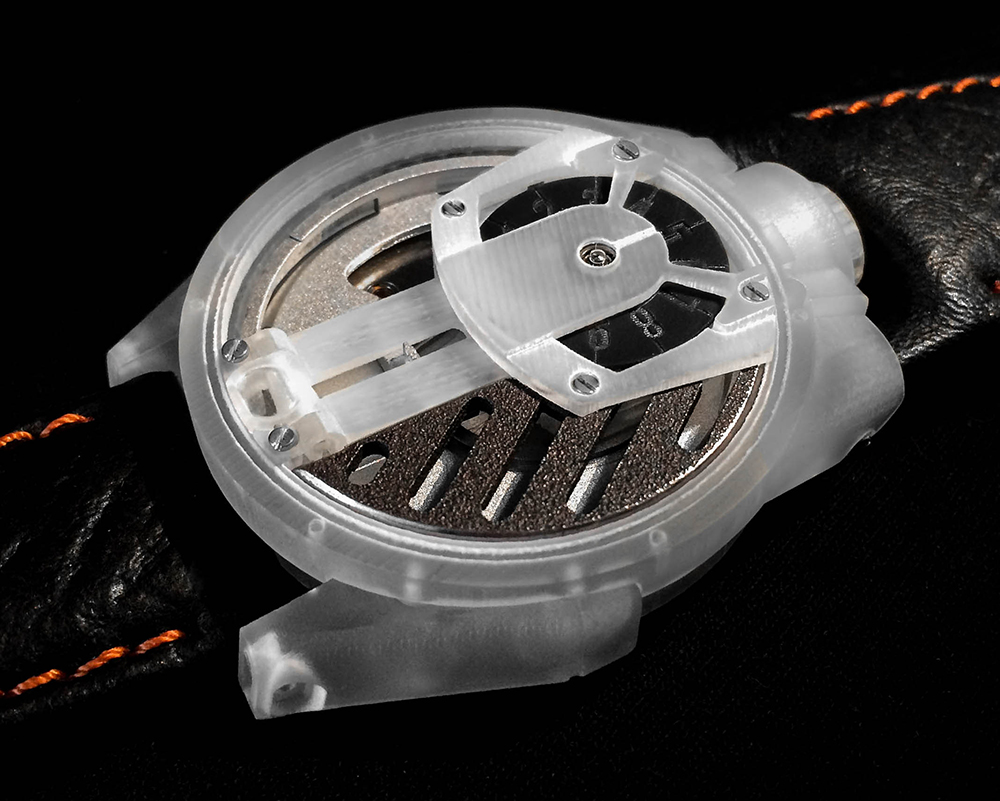
For the past year, Barrelhand Timepieces has been documenting the entire process of its flagship piece, Project 1, from initial sketch all the way to prototyping and manufacturing. Project 1’s mission was to develop unique time display complications in-house using the most modern advancements in 3D printing to significantly reduce traditional R&D costs. Barrelhand Project 1 features a 12-point Geneva jump hour and a linear cam path minute system, both of which are being developed by myself in San Francisco, California. Barrelhand Project 1 is currently on its 14th prototype iteration and is set to release 100 full-metal examples in summer 2017.
My journey into watchmaking began at the age of 18 when I stumbled upon Urwerk’s incredible UR-202. The holy grail of watchmaking is to seamlessly mesh engineering and art, and in my opinion, Urwerk had executed this philosophy exceptionally well. Being a student of mechanical engineering, I thought there was no better way to learn from and honor these great watchmakers than to rebuild the watch on my computer using 3D CAD software. I knew this would be no easy task, but my passion for watchmaking and engineering overcame any second thought, and I immediately began working on what would soon become a newfound love for the world of horology.
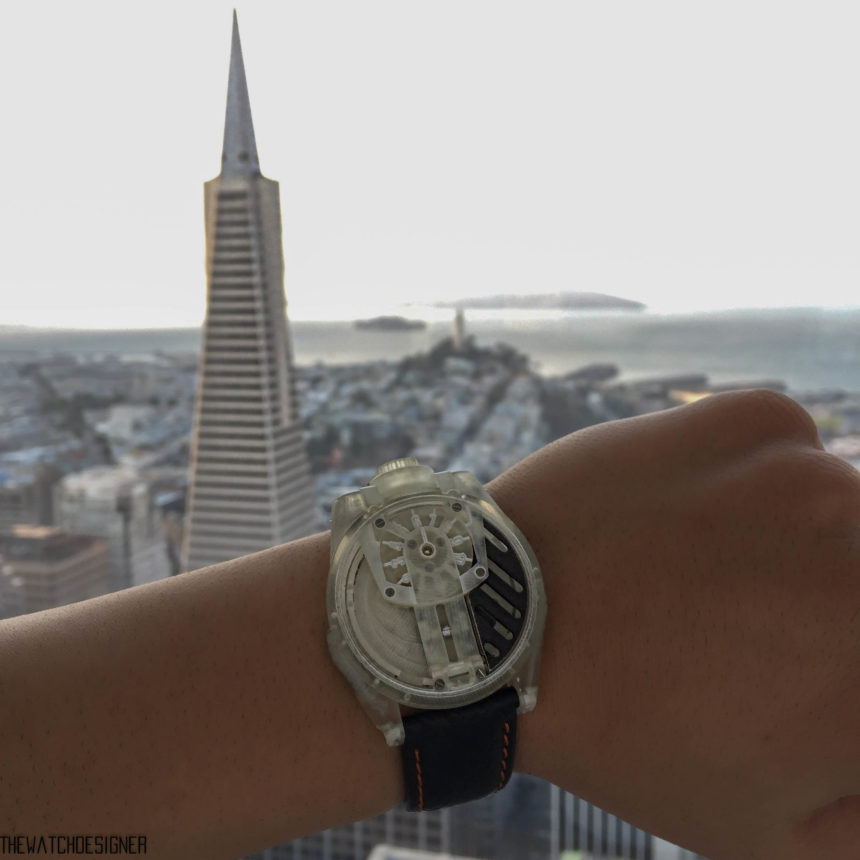
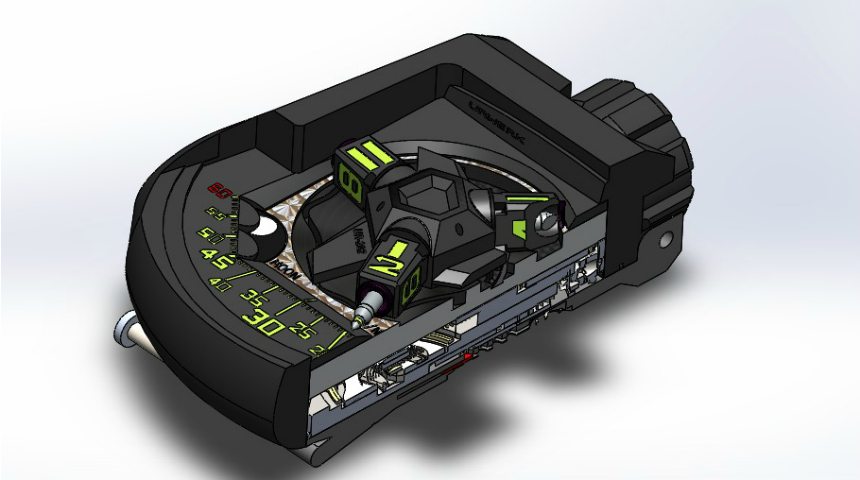
After 2 years of designing and developing prototypes I had finally created a working UR-202 of my very own as a tribute to these great watchmakers. I was then given the opportunity to document my journey from sketch to final prototype in an article on aBlogtoWatch.
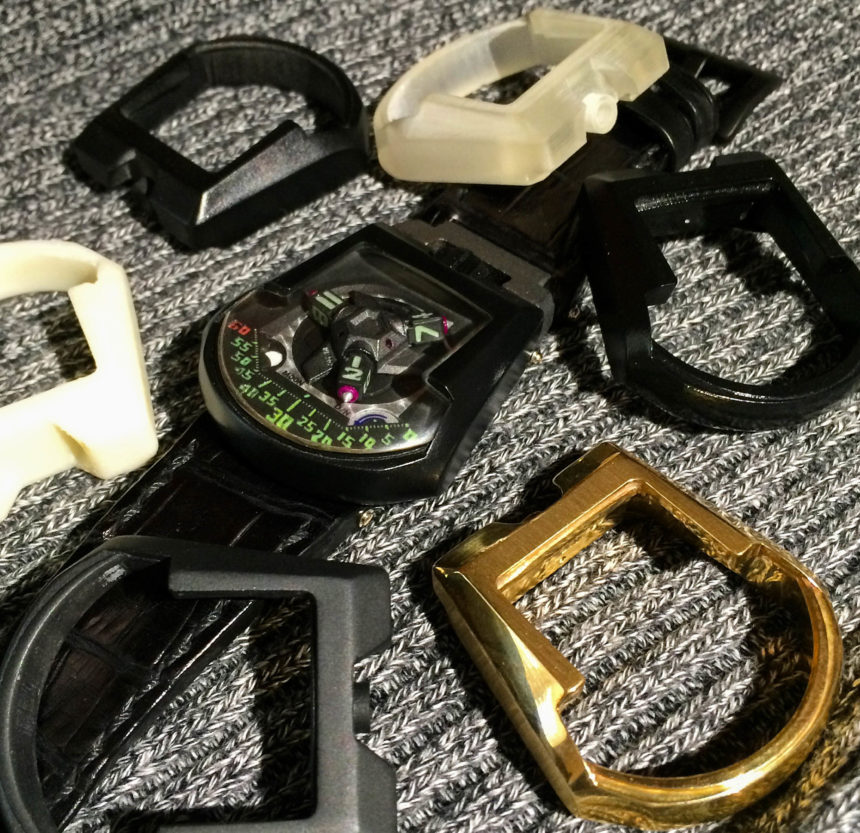
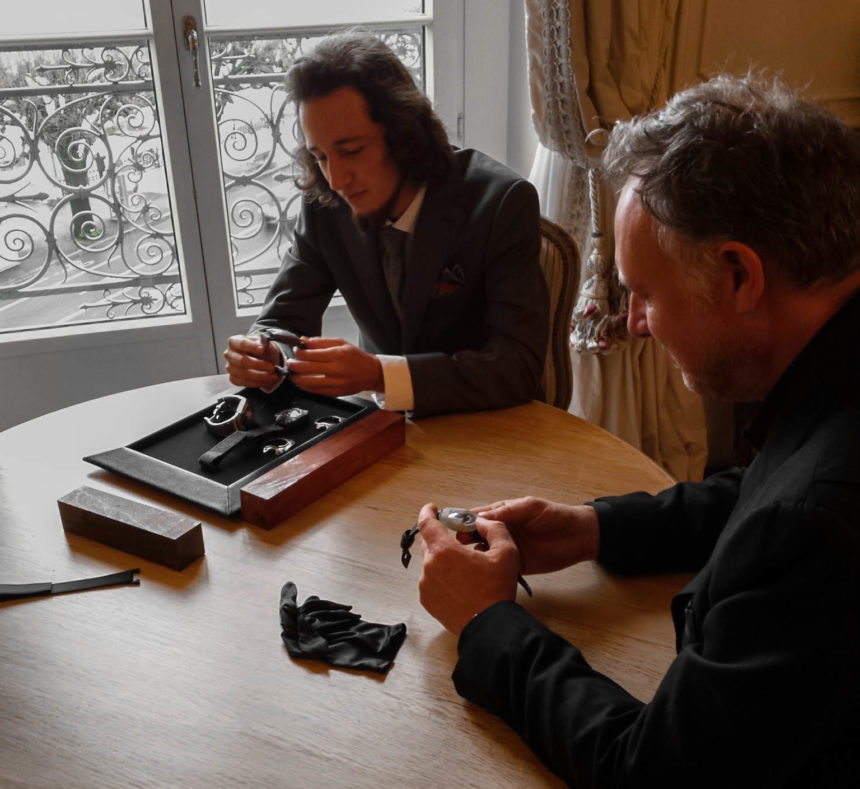
A few weeks after the article was published, I was contacted by Urwerk telling me they enjoyed the article and would be interested in meeting me in person. They sent me a plane ticket, and before I knew it I was heading out to Switzerland to hang out with them during the Salon International de la Haute Horlogerie (SIHH). It was a dream come true, and to meet the team of Urwerk was an absolute honor and privilege. What impressed me the most was the warm hospitality I was greeted with during my visit. Both co-founders Felix Baumgartner and Martin Frei were very busy during SIHH meeting with investors and clients, yet they managed to take 2-3 hours out of each day simply to sit down with me and talk watches. Their passion and philosophy towards watchmaking inspired and motivated me to start a watchmaking company of my very own.
Initial Design
I knew the first project for Barrelhand Timepieces had to be something special. I didn’t want to make another generic micro brand with a slightly different case and dial from what has been done a thousand times over and that floods the “watchmaking” market. If I were to create a timepiece, it had to bring something new to the table, both in mechanics and design. The project and brand is an extension of my own interests, and although I understand that the retro futuristic theme is not for everyone, I hope you can still enjoy the mechanics and effort behind it. I have always enjoyed the artistic freedom of ’60-’70s Sci-Fi, a world where space exploration was abundant but still carried many classic design cues. After months of designing different mechanisms, I had finally settled on the overall complications, and a basic design that would hold it all together.
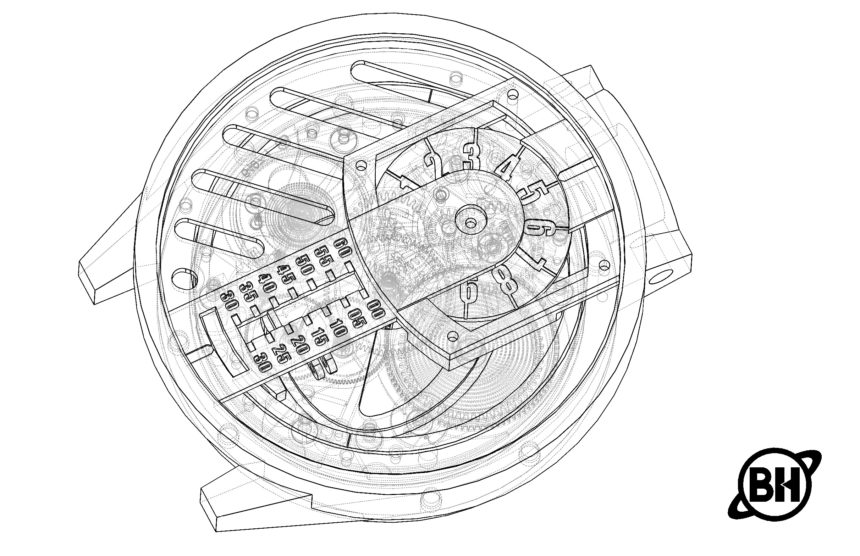
I began by developing a new linear method of displaying minutes. Linear minutes have been done in the past by other haute horlogerie brands such as in HYT’s H3; however, the mechanism to actuate it was to be entirely different. My inspiration came from a vinyl record and how the needle follows a groove as it slowly makes its way towards the center of the album. Using this design, I calculated the curvature of a cam path (highlighted in orange below) which could glide a pin up and down to linearly display the minutes. This path is engraved into the cam plate and rotates around, creating a beautiful dance of motion which spans the whole dial of the timepiece. The cam plate also has strategically placed cutouts to keep the mass perfectly centered along the rotating axis.
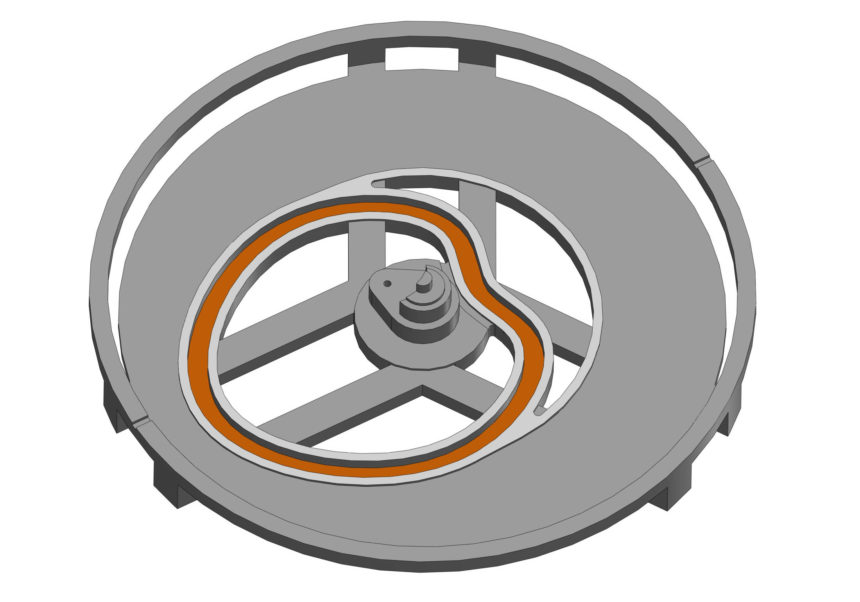
The linear minute system became one of the most challenging mechanisms of the timepiece. This method of actuating the minutes had not been attempted before, to my knowledge, and there was no database or equations to reference. I began testing different curvatures to maximize the traveling distance while minimizing the contact angle. Another issue was assuring that the force remains constant throughout the trajectory as the pin is pushed up and down in the path. Constant force is critical in timekeeping, thus with the use of simple torque calculations I was able to minimize these changes.
As the pin of the linear guide gets further from the central axis, the contact angle is minimized. Likewise, as the pin travels closer to the center of the movement, its contact angle increases. We achieve two things by doing this: constant torque throughout a full rotation, and a linear display that tracks the minutes accurately. If we had done a track with an offset circle such as a crank/piston mechanism, the minute would need to travel nearly twice the distance from 0-15 as 15-30. The guide would ultimately complete a full cycle in 60 minutes but the indices in between would be in non-linear increments.
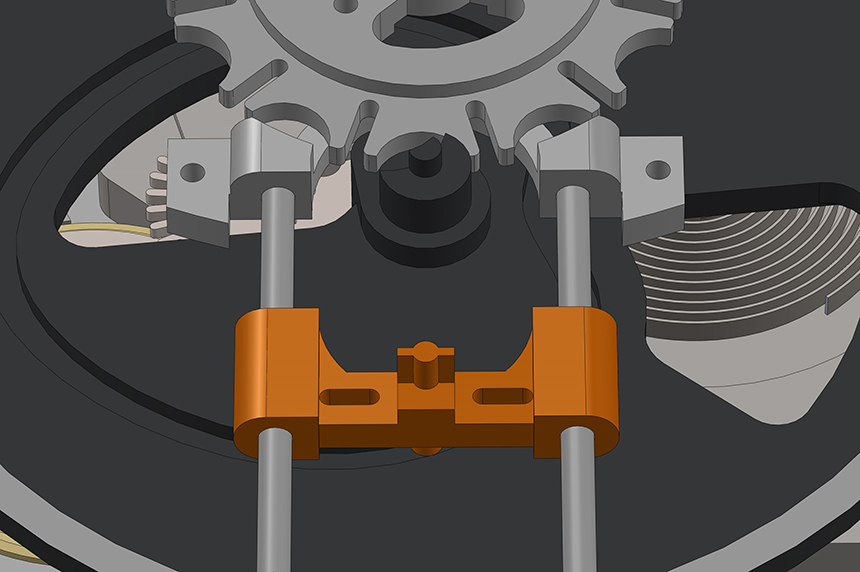
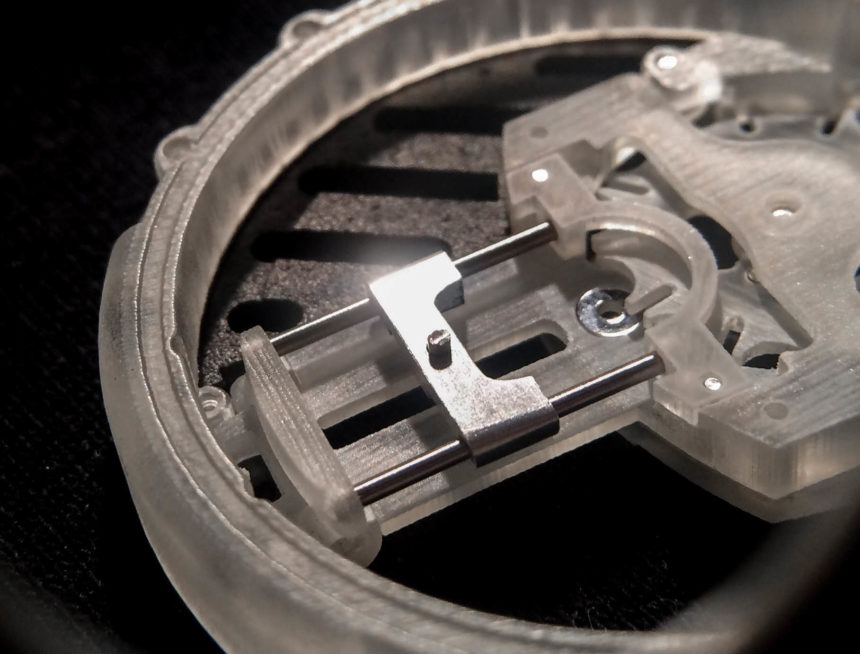
The linear minute guide glides upon two stainless steel rails, indicating 0-30 minutes on its way down and 30-60 minutes on its way back up. The linear minute guide has an underside pin which tracks the groove of the rotating cam plate.
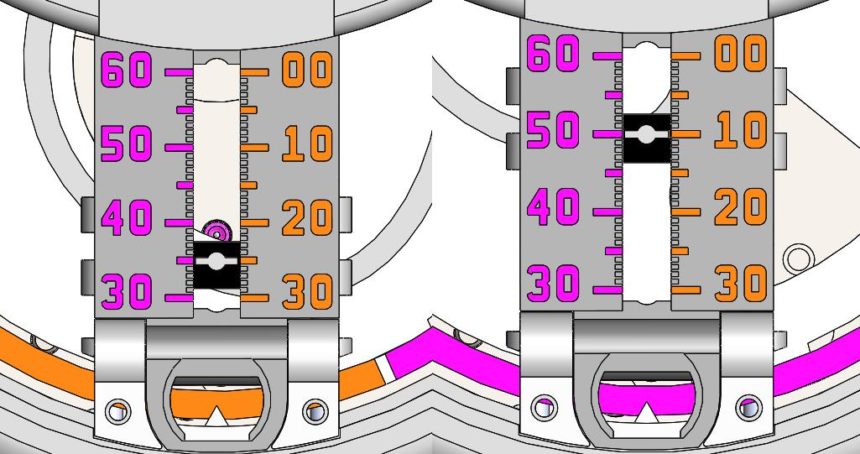
A colorwheel indicator is located at the bottom of the timepiece dictating whether to read the orange indices (0-30 minutes) or purple indices (30-60 minutes). The magnification allows the color to fill up the space completely as the floating ring passes around the outer edge of the movement. The example below shows two different minute readouts: XX:25 (left) and XX:50 (right).
The next mechanism I wanted to implement was a jump hour. Not only does it make time-reading easier, but there is something exciting about watching the hour switch over from one to the next. One of the setbacks to traditional jump hours is that they are comprised of many components and the time cannot be set backwards. While studying intermittent motion for an engineering exam, I was reminded of the Geneva gear. This was not the first time I had seen this mechanism, as it has been used in watchmaking for centuries, mainly for date complications or wandering hours. By implementing this mechanism, I minimized the amount of components needed while allowing the time to be set both forward and backward.
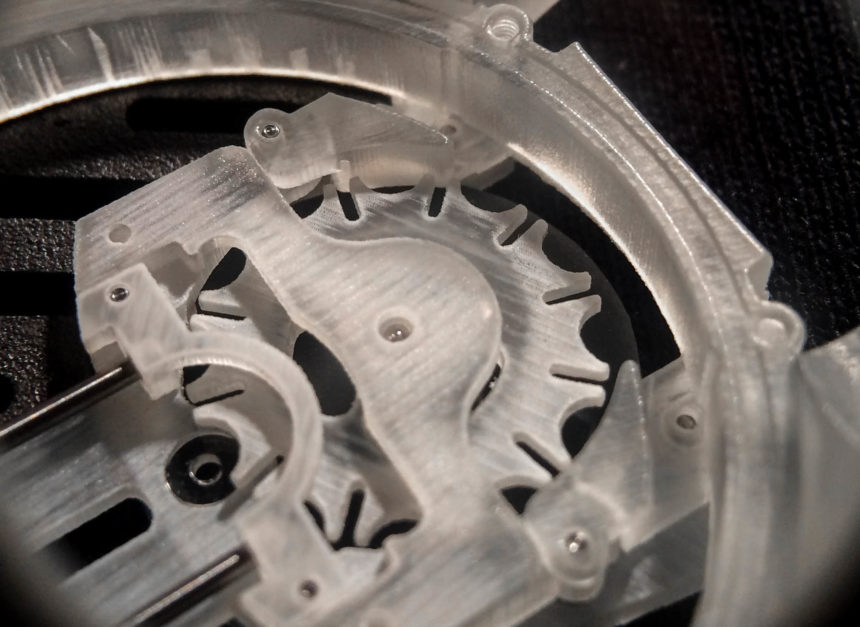
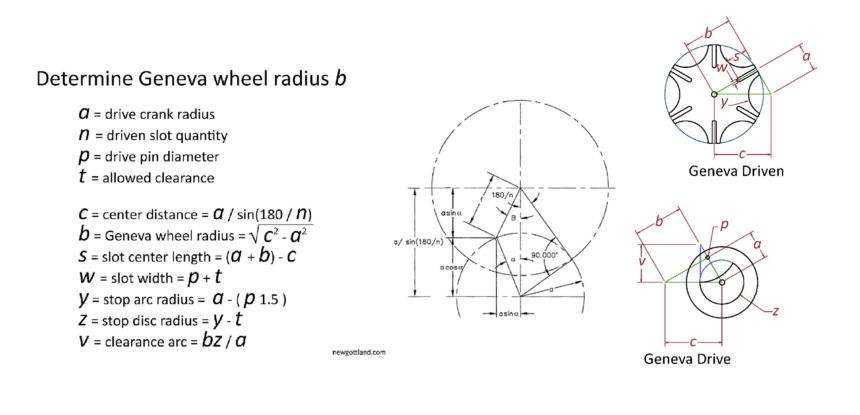
The formulas needed for designing Geneva gears are fairly simple; however, it becomes much more difficult the smaller it is scaled and as you increase the number of points the gear needs. Most Geneva gears have 4-5 points, but in my case, I needed 12 – 1 for each hour. The issue with this is that as you add more points, your gear gets more and more intricate and the walls become much thinner. On top of this, the diameter of the gear had to be no greater than 16mm given previous design constraints. Now I could see that my simplification of the jump hour was in fact going to be more complicated than I had initially imagined.
Research and Development
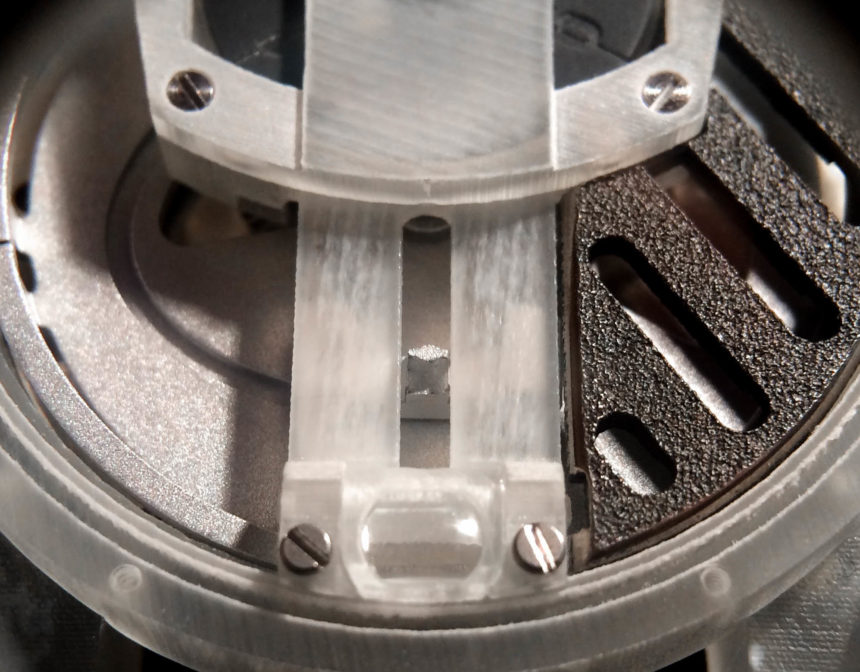
After developing the housing and main plates for these mechanisms, I created a basic case that would hold all of it together. The first prototypes are never a thing of beauty, as you can see below, but that would be improved later on. At this point, the main focus was to get a mechanical proof of concept. The parts were printed using a UV cured stereolithography printer which has a print resolution of 0.01mm (about 1/10th the thickness of a human hair). This 3D printer will serve as the basis for all further prototype iterations due to its low cost and extreme precision, even for tiny gears like the one above.
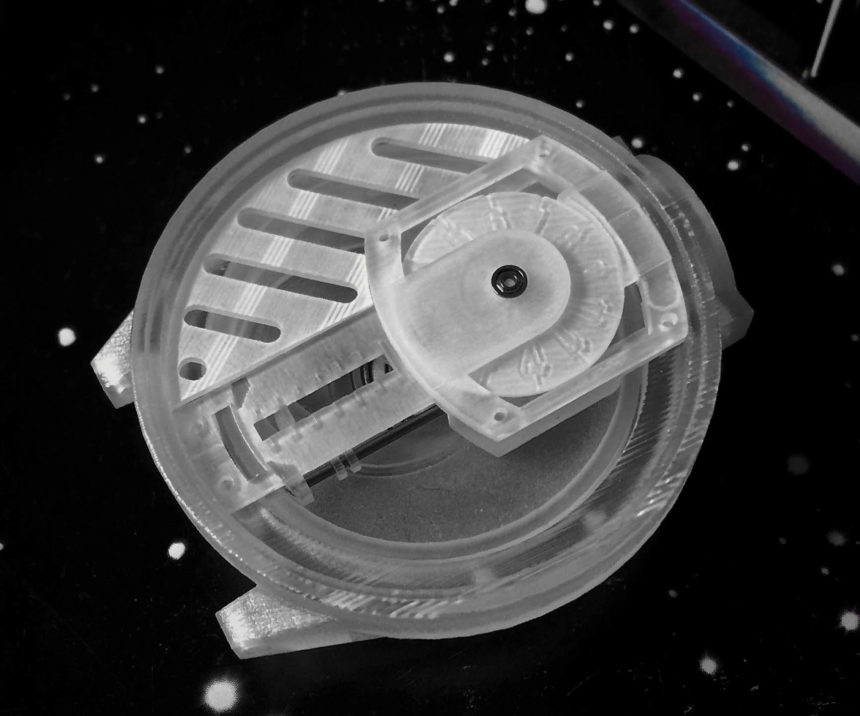
The issue with 3D-printed prototypes is that you cannot specify tolerance, and thus parts must be designed with predetermined spacing for various fitments learned from the previous project. Once all the parts had been printed it was time for assembly, and sure enough, none of the mechanisms functioned properly. Nonetheless, you learn immensely from initial prototypes, take as many notes as you can, and improve on them for the next prototype iteration. By prototype 6, the jump hour was functioning smoothly; however, my linear minutes still had no luck. After prototype 8, I had made a discovery that greatly changed the performance of the linear minutes, and before I knew it, the linear minute guide was being actuated up and down. It was nowhere near as smooth as I had hoped it to be, but it was a start.
